Office 365 includes a basic team site for you to get started. You can immediately start storing files in OneDrive for Business and collaborating on files in your team site.
Where you can store documents in Office 365
- OneDrive for Business is designed for individual use, with the occasional sharing of files. OneDrive for Business is ideal for storing files you own.
- An Office 365 team site is designed for sharing and collaborating on files regularly. A team site is ideal for storing files that have shared ownership where several people or the whole team owns the files and might collaborate on them.
Both OneDrive for Business and team sites provide anywhere access for you and your employees.
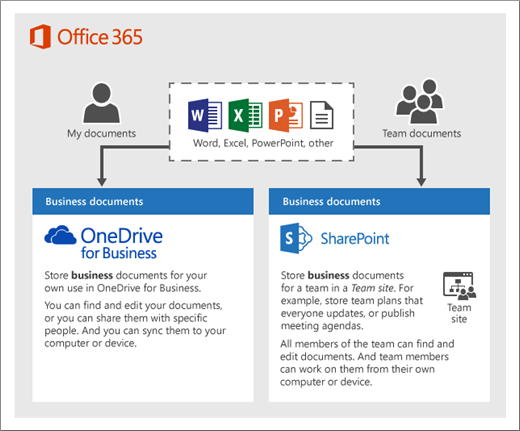
Here are recommendations for what to store in each location when you use OneDrive for Business and Office 365 team sites together:
| Storage location | What it’s for | What to store here |
| OneDrive for Business | Storing content on OneDrive for Business is like storing files on your computer; no one else can easily access them.
It’s ideal for storing business files that you’re working on by yourself. |
Business files that other team members won’t need to collaborate on or access regularly. |
| Office 365 Team site | An Office 365 team site is like a website, but by default it’s not public; it’s accessible only to people you give permissions to.
It’s ideal for sharing and collaborating on files. |
Shared documents that all of your employees can access and collaborate on. For example, collaborate on a PowerPoint presentation, store team plans that everyone updates, or publish meeting agendas. |
| Office 365 Team subsite | An Office 365 team subsite is like a separate section on your team site with a unique look or unique permissions for access.
It’s ideal for sharing and collaborating on files with a customer or partner external to your business. It’s also ideal for storing files you want to keep private from the rest of the people in your business who have access to the team site. You can set up a subsite so only you (and if needed, one or two others) can access it. |
Files you want to share with people external to your business.
Files your want to keep private from others in your business. For example, you might want to store personnel and financial information here. |
| Office 365 Site collections | File storage and sharing, but the site collection is completely separate from your existing team site.
A new Office 365 site collection has its own address and permissions. It can be used for internal or external collaboration. Larger businesses use site collections in the same way small businesses use subsites. A small business with advanced security needs and strong technical skills might also want to create a site collection. |
Store the same shared information in a site collection as you would in a team site and subsite. |
Step 1: Tell team members to store their own files on OneDrive for Business
It’s also important to tell employees to share their OneDrive for Business folder with you and coworkers. If employees get sick or leave the company, it’s difficult to access their files stored on OneDrive for Business. But if the OneDrive for Business folders are shared, you can always access the files if needed.
Here’s how each person on your team gets to their OneDrive for Business and shares their folder.
- Go to https://portal.office.com to sign in.
- Type your user name and password, and then select Sign in.
- On the Office 365 Home page, choose OneDrive.
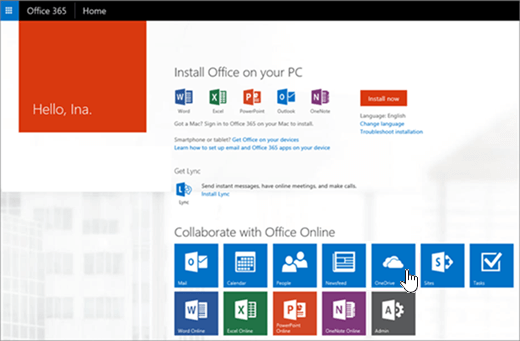
- In OneDrive for Business, if you already have a Shared with Everyone folder, open it. This is where team members should store their own business-related documents in OneDrive for Business. Choose Share, and go to the next step.
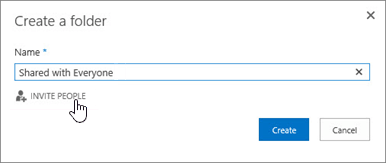
Or, if you don’t already have this folder, choose New to create a new folder. Name it Shared with Everyone, and choose Invite People. If you don’t see Invite People, click Create and then right click the new folder and click Share.
- In the Invite people box, type names or email addresses of team members who you want to have access to the folder. You can include your own email address to get a copy of the email that will be sent to the people you give access to.
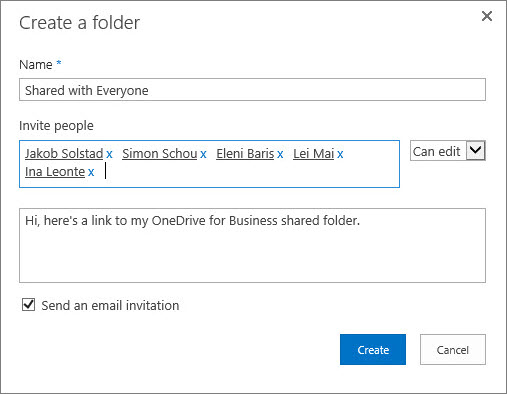
- Select a permission setting for the folder to Can edit or Can view.
- Type a message to be included with an email that’s sent to the people you invite so they know that the email includes a link to your shared business files. Choose Create. The email is immediately sent to the people you invite.
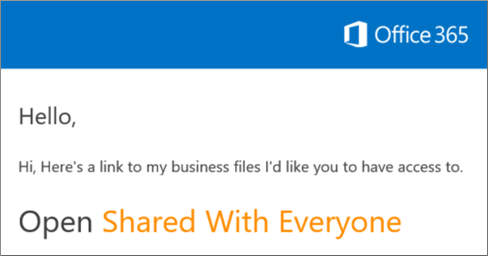
Here’s what the email looks like when it’s sent. It includes a link to your Shared with Everyone folder at the bottom so they can get to it.
Step 2: Explore your Office 365 team site
Office 365 includes a basic team site with some features to help you get started. Only the people in your business can access this internal website.
Here’s how you get to your team site:
- While still signed in to Office 365, in the upper-left corner of the page, choose the app launcher
 , and then choose Sites.
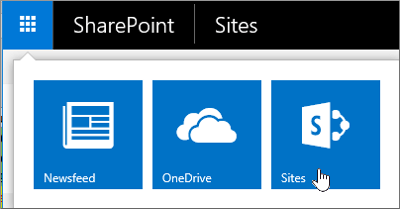
- On the Sites page, choose Team Site.
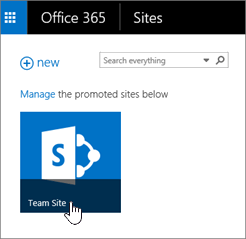
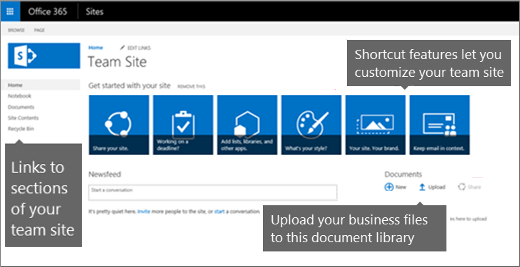
You’ll see the Home page for your team’s internal website with a default title of <your business name> Team Site. This Home page includes:
- Tiles to features to help you get started customizing your team site.
- Left-side links for navigating to other areas on your team site.
- A document library, so you can start storing and sharing files with your team.
Step 3: Upload files to your Office 365 team site for online collaboration
To help you get started storing and sharing files quickly, your team site comes with a place to store files. It’s called the Documents library as in a “library of documents.”
Here are the steps:
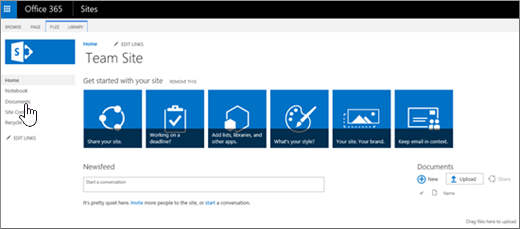
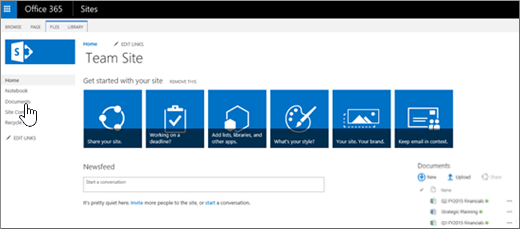
- On the Home page of your team site, choose Documents from the navigation menu on the left. This will take you to your Documents library.
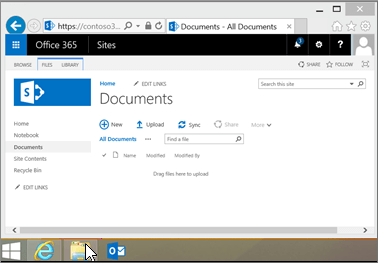
- While you’re still signed in to Office 365, open File Explorer from your Start bar or other location.
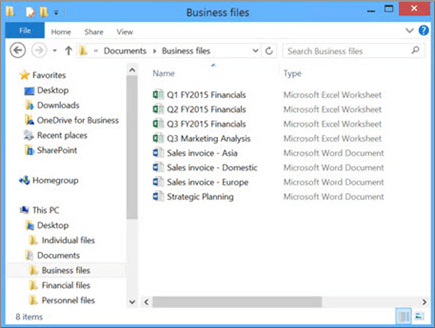
- Go to the files you want to upload to your team site.
- Select the files you want to upload to your team site, and drag them to the Documents library.
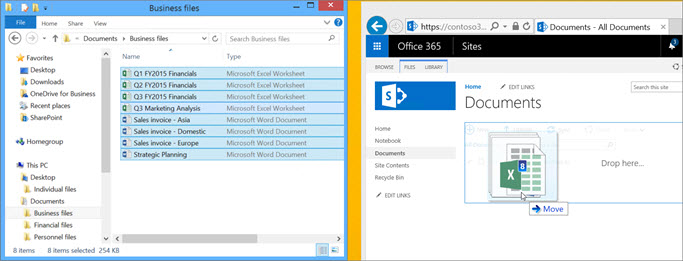
When you’re done, the files will be stored in both your team site and your computer.
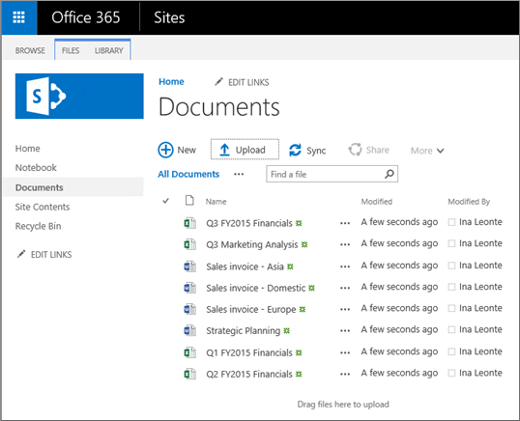
You can delete the files from your computer. In the next step, Step 4: Sync online files with your desktop, you’re going to create a new location for these files on your computer.
If you have a lot of files or large files to upload to your team site, read these tips on uploading large or many files to a library.
If you need more storage space, see Change storage space for your subscription.
Step 4: Sync online files with your PC or Mac
Now that you have files on your team site, you can set them up to sync with your PC or Mac. This way, you can work on your files from your PC or Mac instead of working in Internet Explorer, Chrome, or another browser. It’s also useful to have a version of your files synced on your computer for situations when you need to get to a file and you aren’t connected to the Internet.
After you set up files to sync with your computer, when you’re connected to the Internet, they’ll be synchronized automatically about every 10 minutes.
Here’s how to synchronize files on your team site with your desktop:
- On the Home page of your team site, choose Documents from the left-side navigation menu. You can’t set up synchronization from the Home page, you have to open the library from the navigation menu.
Tip: When syncing files on your team site, you’re syncing each document library on the site, not the entire site.
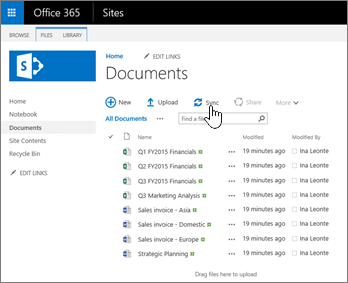
- In the Documents library, choose Sync. Or select the individual files you want to sync.
- At the OneDrive for Business box, choose Sync now. (OneDrive for Business is the process doing the synchronization.)
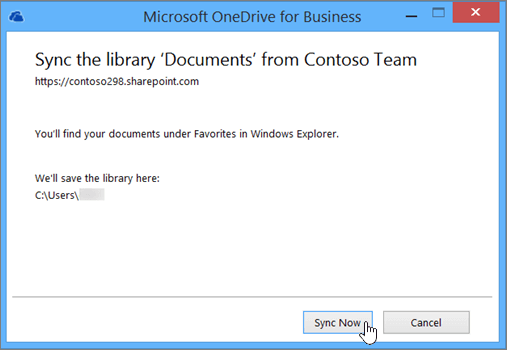
- If you then get a security prompt, choose Allow. If you get a prompt to enter your Office 365 credentials, enter your Office 365 user ID and then your password. When the syncing process starts, you’ll see this dialog box:
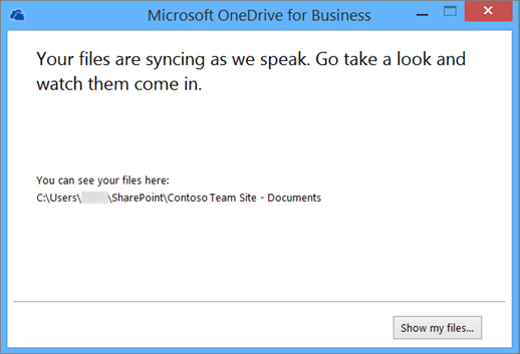
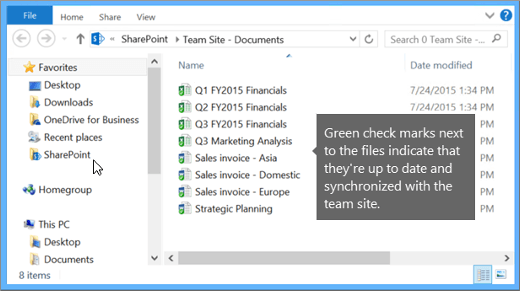
- Choose Show my files to see your documents in Windows Explorer. You can see the files on your computer in your SharePoint folder. The little green check mark next to the file indicates that it’s up to date and has been synchronized with the version on the team site.
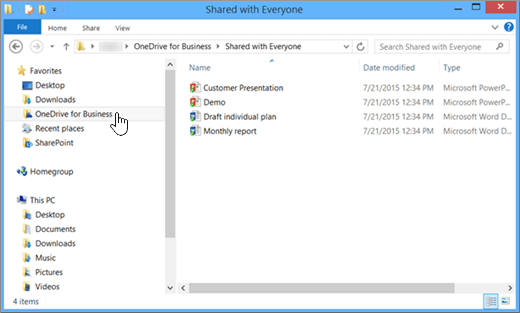
Notes: When you sync files on OneDrive for Business, they are located on your desktop in your OneDrive for Business folder.
- Go to your SharePoint folder, and open the file. Make a change, and then choose Save. If you’re connected to the Internet, at the bottom of your screen you’ll see Uploading to SharePoint, indicating the file is being saved to your team site. It’s also saved to your desktop in the SharePoint folder at the same time. If you get the message “Failed to upload,” try again. Sometimes an inconsistent Internet connection can disrupt saving.

Congratulations! You’re done setting up file storage and online collaboration for your organization.
- On the Home page of your team site, choose Documents from the left-side navigation menu. You can’t set up synchronization from the Home page, you have to open the library from the navigation menu.
